Feeds:
Posts
Comments

Posts Tagged ‘Miscellaneous Desserts’

“Little darling, it’s been a long cold lonely winter…Little darling, the smiles returning to the faces.” Ah, haven’t had many posts in a while, let alone a Beatles reference as awesome as Strawberry Fields Forever. Well, here ya go.. with both! I’m on a bizarre, obsessive SunButter kick right now. Last Sunday we had SunButter Kind of Love Fudge, and today we have Here Comes the SunButter Cups! To alleviate some of your pain from the cold (and from the lack of posts), I created these beauties for you. So for all those out there who have peanut allergies and the like, I give you a SunButter Cup that is equally delicious to it’s nutty cousin, the peanut butter cup. Made from sunflower seeds, these are a great nut-free, gluten-free, tree nut-free alternative. Of course, check your chocolate as well.. but at least the filling is copacetic for the allergy-laden gnomies in the crowd. So “here comes the sun, here comes the sun, and I say it’s all right.”

Ingredients:

2 C vegan chocolate chips, or a chopped chocolate bar to 2 C (make sure you quality control your chocolate by tasting it prior to melting – if it needs to be sweetened add some sugar accordingly)
1 TBSP Earth Balance Vegan Butter *optional for a more ganachey consistency or leave it out if you don’t want the added fatty goodness
1/2 C SunButter, creamy or chunky – however your prefer your cups
1/4 C powdered sugar, sifted
pinch of salt
1 tsp vanilla

Directions:

1. In a small sauce pan, add about 1-inch of water and bring to a boil, reduce heat to simmer. In a dry, heat proof glass bowl, add chocolate chips, 1 TBSP vegan butter, and sugar (if necessary) and place over the simmering water. Keep an eye on it..make sure no steam or water droplets get into the water – this can cause the chocolate to seize..and well, seizing chocolate isn’t as fun as seizing the finished product into your gently smiling jaws. If your chocolate suddenly clumps up and looks gross and no longer shiny, it’s been seized – there’s no saving it, so set aside to eat at a later moment and start over. The melting takes only about 5-10 minutes, so be patient. As I said before, in the PB Cup post, that equally applies here: “As with almost everything in life – you start out cute as a button, go through an awkward, only-see-the-inner-beauty phase, then before you know it you only have a few lumps…and you blossom into smooth, luscious ganache!”

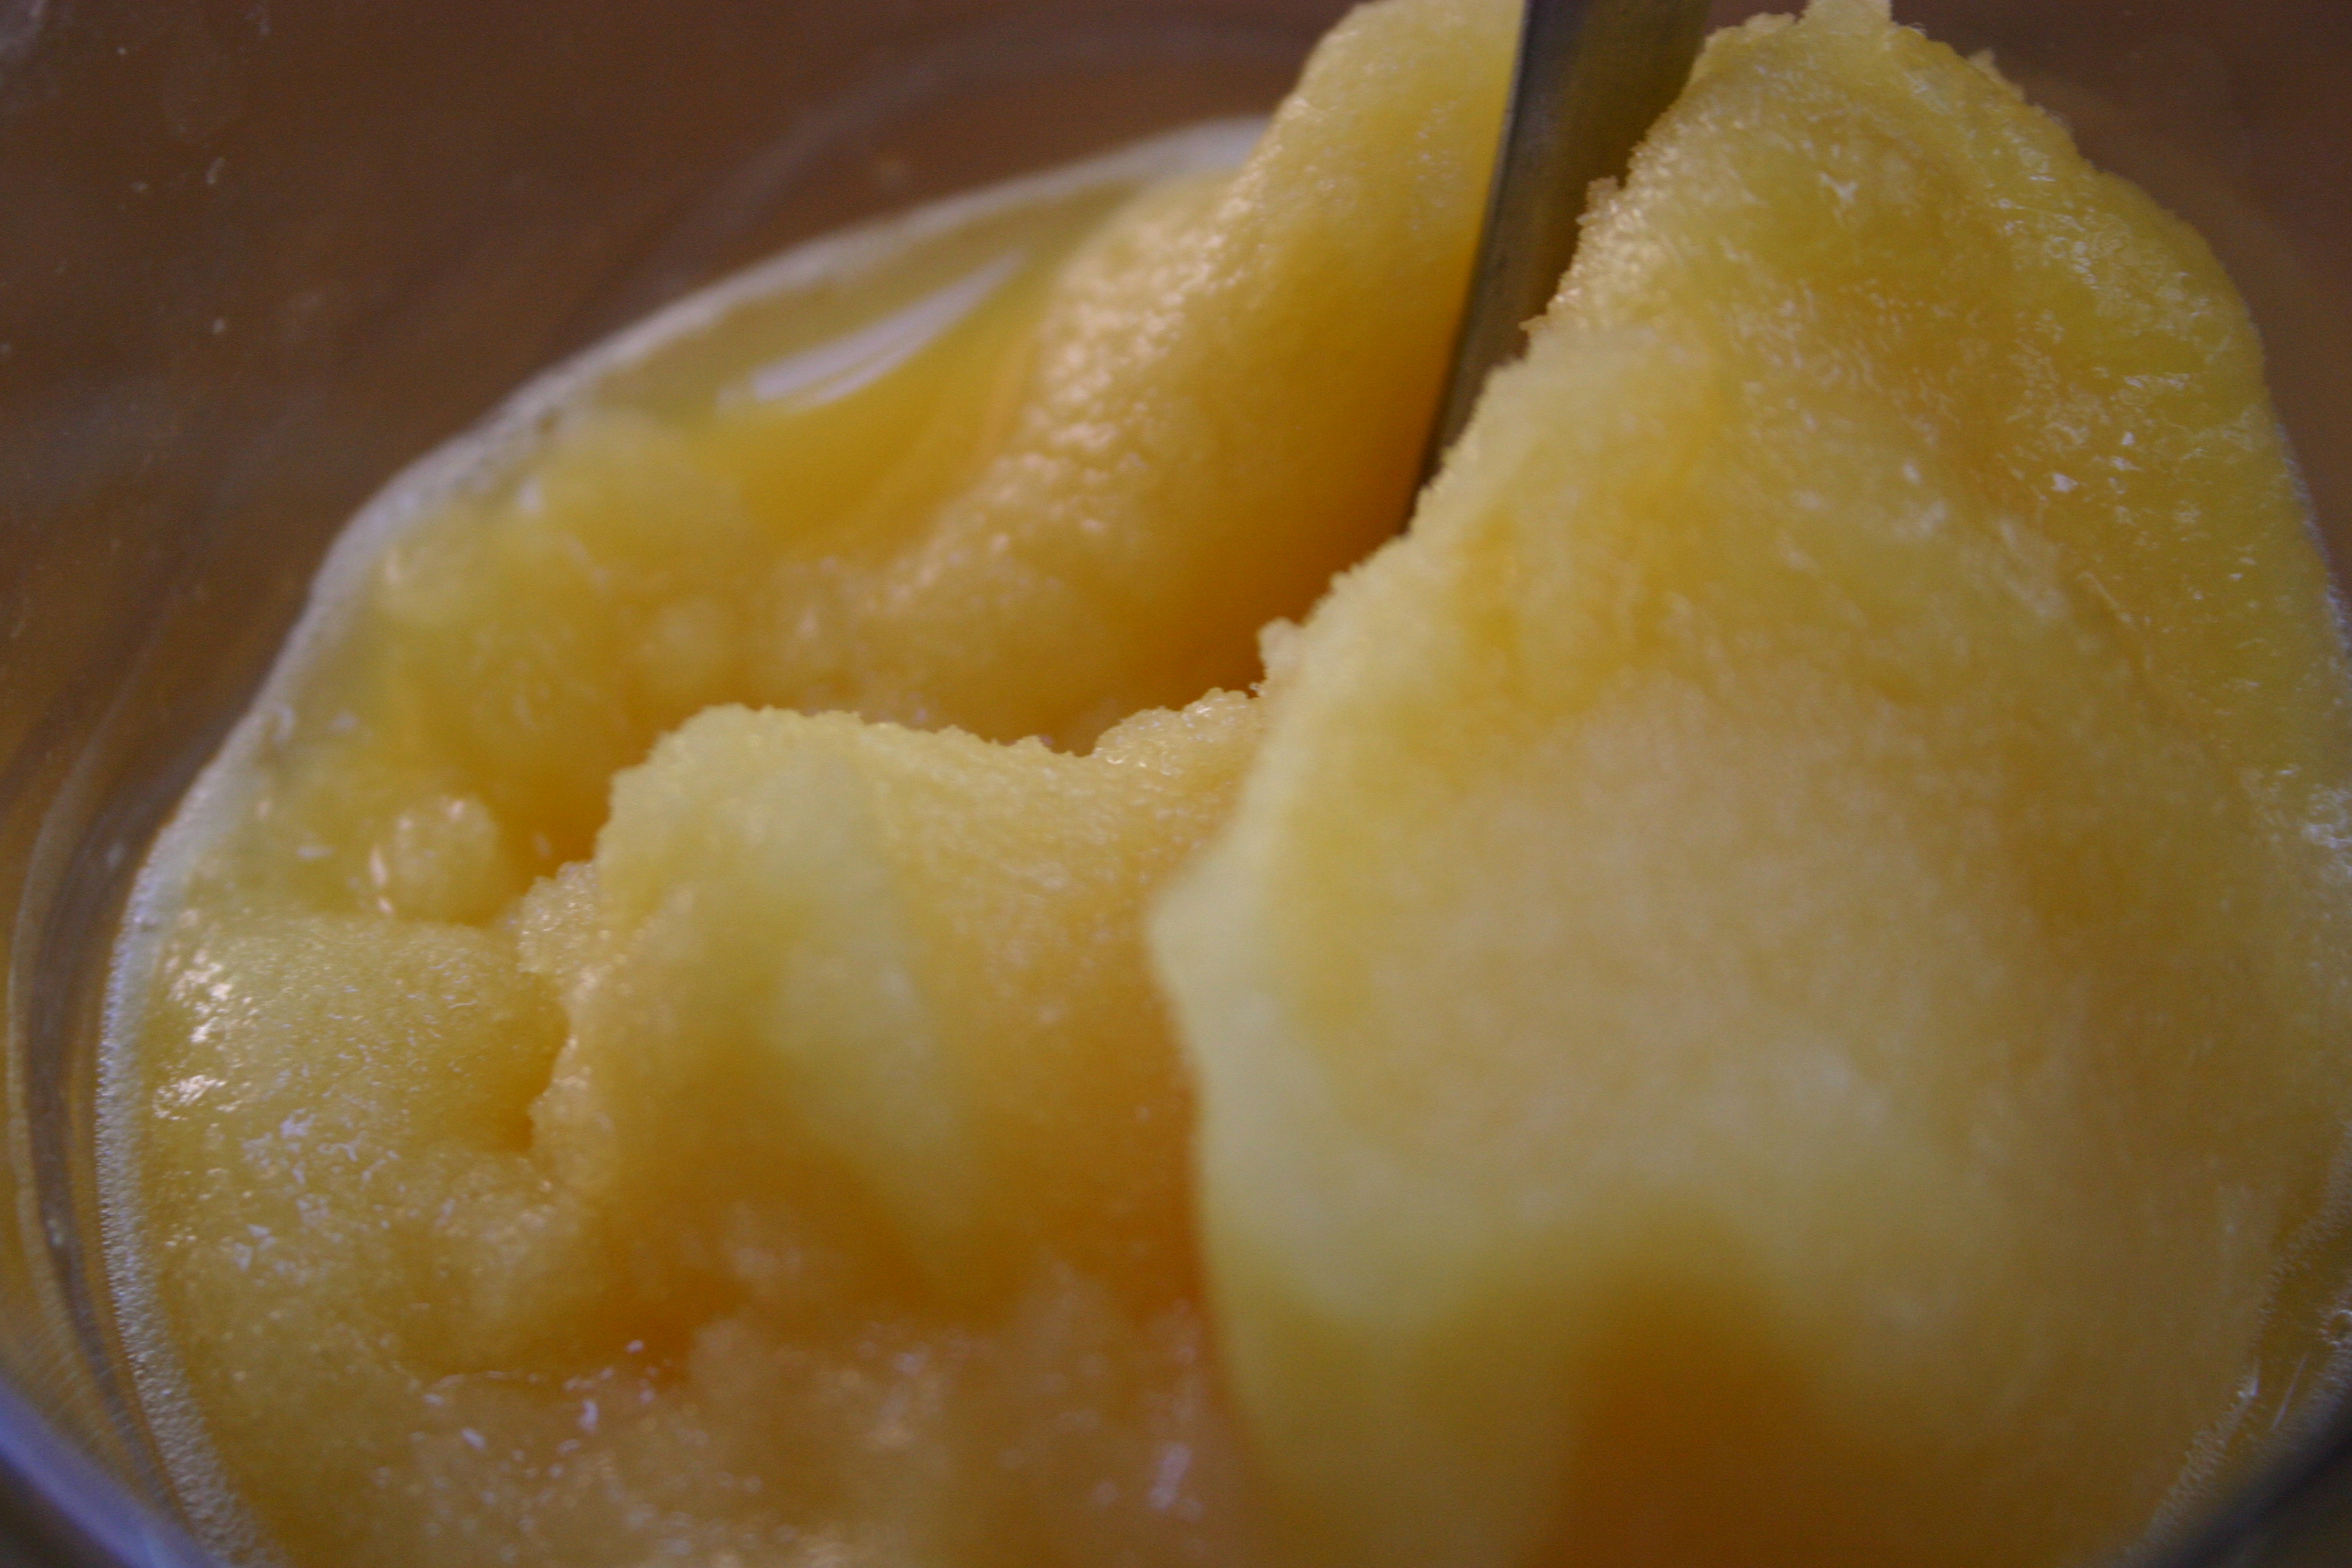
2. Meanwhile, with a hand mixer or wooden spoon, combine SunButter, sugar, salt, and vanilla until combined. Fill a pastry bag with the SB mixture and set aside, [or prep a melon baller or small spoon]. **When you’re ready for it, microwaving the SB mixture (before adding it to a plastic pastry bag) for about 30 seconds will help make the mixture easier to work with.


3. In a mini-muffin tin lined with candy/foil wrappers, fill with about 1 tsp melted chocolate with a spoon, a small melon baller, or chocolate in a pastry bag (the latter two I find to make things more manageable, but feel free to get your fingers dirty. What a tragedy..licking chocolate-covered fingers.) Place a hefty dollop, about 2-3 tsp of the SB mixture (again a pastry bag or melon baller seems to make things easier for me) and press down so it’s cozy in the chocolate. Top with remaining melted chocolate, about another tsp, to cover SB center. Give the muffin tin a good shake, then place in fridge about 15-20 minutes for chocolate to set!

*Confectioner’s Notes: Your chocolate bowl needs to be 100% dry – not a speck of water. Don’t rush the melting of the chocolate. Stir occasionally with either a wooden spoon or rubber spatula. Remember…good things come to those who wait, and those who rush get unworthy chocolate. Keeping the heat low will also help prevent the burning of the chocolate – which is also not a good thing.


Happy Baking!

Read Full Post »

These babies are rich and creamy, smooth and luscious..just like Etta James. So give me a SunButter Kind of Love Fudge! This is definitely more than love at first sight, or bite. You remember Melanie and her son, Dylan from the infamous blueberry brownies..well, they’ve introduced me to sunbutter. So I’d like to thank them for this Sunday Kind of Love affair with sunbutter. This fudge is different, in many regards, from the peanut butter fudge. I may be Capt. Obvious here: it’s peanut-free! But it’s also gluten-free and tree nut-free.. so it’s über amenable to the allergy-laden peeps in your life. SunButter is made from sunflower seeds, and I find it gives this fudge (at least when it was still warm, hello..quality control, though not so much after they’ve cooled) a slight caramelesque flavor without being overtly sugary or sweet. And as with all kinds of love, it’s hard to have just one. It’s easily rich (like so many Sunday mornings), so you can’t really eat them back to back..but I certainly found myself listing back towards the fridge not 5 minutes after eating one to have another round 😉 Makes 24 mini-muffin sized bites.

Ingredients:

3/4 C Earth Balance Vegan Butter
1 tsp vanilla extract
1 C Creamy SunButter
1.5 C powdered sugar, sifted

Directions:

1. Melt EBVB over low heat in a medium sauce pan. While butter is melting, line a 24 mini-muffin tin with candy cups (like you use for peanut butter cups).
2. Once melted, remove from heat. Stir in vanilla and sunbutter.
3. Once blended, stir in sifted powdered sugar. Scoop fudge with small melon baller (or spoon) into the lined tin.
4. Place in fridge to chill overnight.

*Serve chilled. [They do soften at room temperature, to just slightly softer than the consistency of a PB cup filling..so just be aware. They have the consistency of fudge when chilled, the consistency of delicious filling when softened. Either way, they taste equally delicious 🙂 ]

Happy Baking!

On This Day In History: Whole Wheat Chapati

Read Full Post »

Here it is!! The pie you have been waiting for – Lemon Cream! And because these babies taste best when eaten all in one bite, I shall name thee ‘Poppers’… To be completely honest, I’ve never even had a lemon cream or lemon meringue pie before – vegan or otherwise – so I wasn’t exactly sure on how to create it (hence the time since it was suggested by Christina on our Facebook page). But I think it came out supreme, even if it’s not exactly like the lemon cream pies of yore – it’s exactly what I would want a lemon cream pie to taste like. And speaking of taste – you know the experience at the bottom of an ice cream cone – where you’ve got soft/melty ice cream and oh so much cone in that last bite…well, this replicates that experience for me – the flaky crust, with the soft creamy bits..mmm. This recipe makes quite a bit of lemon cream, so if you’re making popper-size, like I did, either half the lemon cream or double the crust recipe. But if you’re making a big pie, it might fit in a deep-dish crust. It would also be nice as a ‘pudding’ alternative for when you crave something creamy but don’t want ice cream. So without further ado….

Ingredients:

Pie crust (discovered through Madcap Cupcake, recipe adapted from Domestic Affair):
1 C AP flour
1/3 C pastry flour
1/4 tsp salt
about 1/4 C ice cold water, to be added 1 TBSP at a time
1/2 C Earth Balance vegan butter (I didn’t have coconut oil..but if you’ve got that, it’s what the original recipe calls for)
1 TBSP agave nectar

Lemon and Whipped Coconut Cream:
1/2 C fresh lemon juice
1/2 C granulated sugar
1/2 C Earth Balance vegan butter
1/2 C Primate pastry cream
1 tsp cornstarch
1 can coconut milk (NOT low fat)
1 TBSP granulated sugar

Directions:

Make the Lemon Cream:
1. Place the juice, sugar and butter in a heavy non-reactive saucepan over medium heat. Cook, stirring occasionally, until the butter melts.
2. Add in the pastry cream and cornstarch, reduce heat to medium-low, and whisk until blended and thickened (about 3-6 minutes).
3. Remove from heat, transfer to a covered container (and if it’s not air-tight then cover the top of the custard with some plastic wrap to prevent a film developing) and chill in the fridge overnight.

Make the Pie Crust:
1. In a food processor, pulse the flour and salt with the Earth Balance (or coconut oil) until crumbly.

lemon cream pie crust butter pulse

2. While pulsing, drizzle in the agave and water (1 TBSP at a time). Continue pulsing until it comes together and begins to form a ball.
lemon cream pie crust ball stage 3. Wrap dough ball in plastic wrap and chill in the fridge at least 15 minutes. This is also a good time to chill the bowl, whisk, and pie/muffin tin in the fridge.
4. Preheat oven to 400°F. Roll out dough and cut into circles that will fit the mini-tin, and gently press each round into a well, free-form. Bake in greased mini-muffin tin about 15 minutes, until golden brown on top. Let cool while you make the whipped cream.

lemon cream pie greasing tin

lemon cream pie baked crust

Make the Pie:
1. With a chilled bowl, whisk, and coconut milk. Spoon out the solid portion of the coconut milk – avoid the liquid in the bottom at best possible. Add in 1 TBSP granulated sugar, and whisk on high speed in your electric mixer until soft peaks form – it took me about 5-8 minutes (I didn’t really time it, but I loaded my tiny dishwasher while it was going).

whipping coconut creamwhipped cream soft peak

2. Gently fold in the chilled lemon cream/custard (best if done in two additions) into the luscious whipped coconut cream. Let chill in the fridge about 15-20 minutes (again, I didn’t time it but I took a shower and got dressed while I waited).

fold in lemon cream3. Fill baked pie crust with a dollop of lemon cream, and chill in fridge several hours before serving – ideally overnight.

lemon cream poppers

Happy Baking!

Share

Read Full Post »

FilledCuppieXsectionThere are few things that are amazing enough to blow my top off these days, but I have to say…this past weekend, I created this pastry cream that got me pretty ecstatic! It’s been a while since I’ve created something that has wowed me as much as this pastry cream did (well, there was another thing this weekend that topped even this pastry cream, but that’ll be a post for a later date…hehe). Normally, I simply love the things I make, but this goes beyond love..beyond excitement… Let’s just say, when I tasted it…I giggled with glee and danced a little jig – yes, a jig while giggling. To an outside observer, I might have looked a bit like I lost a few more marbles. There are other recipes out there for vegan pastry creams, and I’m sure they’re delicious. The major difference with this recipe: this one has absolutely no tofu in it! So all you out there, who detest tofu like we do here at the Primate, you can now have a pastry cream to fill cupcakes, donuts, to use as a thick and creamy “whipped cream” substitute to top ice cream sundaes, or just to fill your mouth straight from the bowl or pastry bag…ah, good times! This recipe makes enough to fill 12 standard cupcakes, plus extra..I bet I could’ve filled at least another half dozen. So let’s say, enough to fill about 18 cupcakes. Because it’s something that I may not be able to describe properly with text, I’m going to give you large pics to help guide you!

Ingredients:

1/2 C coconut milk

1.5 TBSP agar agar flakes

4 tsp cornstarch + 1 TBSP hemp milk

1 stick (4 oz) Earth Balance vegan butter, softened about 10 min at room temperature

1/3 C + 1 TBSP granulated sugar

pinch of salt

1 tsp vanilla extract

1 TBSP hemp milk

Directions:

1. Add agar flakes to coconut milk, set aside for 10 minutes. (It’ll be lumpy and kind of gross looking, that’s okay).

CM and agar2. Pour 1/3 C of the coconut milk/agar mix into a small saucepan. Bring to a boil, reduce heat and continue to cook until agar begins to dissolve, about 10 minutes.

3. Whisk cornstarch + 1 TBSP hemp milk into the remaining coconut milk/agar, add to the saucepan, stirring constantly. After about 1 minute, the mixture will thicken intensely (and somewhat grossly). Remove from heat and set aside. (This is the part where it looks really unappealing, but don’t worry…just tell yourself, ‘goop is good’)

MeltedAgarGoop4. Cut butter into small cubes and place in a blender or food processor. Add sugar, salt, and cooked cornstarch/agar goop. Blend until creamy. Add 1 TBSP hemp milk and vanilla, scrape down sides, and blend again. Transfer to a covered container and chill to firm up – at least 45 minutes. (I used a blender, but I think next time I’ll go with the food processor simply for ease of getting every last molecule out of it. If you chill overnight, you’ll have to let it sit at room temp for about 5 minutes to let it become more squeezable again).

PastryCreamInBlenderPastryCream5. Fill piping bag and fill cupcakes, donuts, etc. I used a chopstick to poke a hole and shimmy out some space inside the cupcake. But beware the overfill…

FilledCupcakeBewareOverfill

…Though no big stress if you do overfill…all mistakes can be covered up with a little buttercream frosting! 😉

FrostedCupcakes

Happy Baking!
Share/Save/Bookmark

Read Full Post »

I know that the kids of my generation will remember those Orange PushUps from the ice cream man, with the polka dotted cardboard and pushing up the sorbet before it could melt all over your hand from underneath! Ah, the good old days…summertime and sticky hands…ah! So what is an adult to do when you want to recapture a bit of youth – make orange sorbet with an optional shot of vodka! Ha ha! And best of all, I didn’t have to make any simple syrup since I used agave nectar!! This sorbet comes out so slushy good, you’ll wish you had a pushup container to eat it from!

Ingredients:

1.5 C fresh squeezed orange juice
1.5 C orange juice (prepackaged)
1 C agave nectar
1 TBSP vodka *optional

Directions:

Whisk together all ingredients and pour into an ice cream maker. Freeze according to manufacturer’s directions. Mine took about 25 minutes. Place in freezer-acceptable container, and freeze for about an hour before enjoying!!

Happy Freezing!

Read Full Post »

Continuing with all things mini and July being blueberry month…I made my famous blueberry tart – mini-sized!! Oh, I can’t believe how cute it came out. I prepared the tart dough, and then the next day – when I went to roll it out, I thought – WAIT!…I have miniature tart pans! Why not make tiny tarts instead of the usual normal sized tart?! And I’m so glad I did!!! Just looking at them makes me smile with miniature excitement… The tart dough recipe is adapted from the Classic Home Desserts cookbook, as is the blueberry tart recipe. In the shell list of ingredients, I went ahead and posted the amounts for 2 shells (in the parentheses) if you’re looking for a new pie/tart crust recipe for other pies. The directions below are for a normal 9-inch tart (serves about 8 ), but the 1 shell comes out perfect for about 22-24 mini tarts, and I reduced the amount of filling by half, and I was a few shells shy of filling – that’s ok because some of my mini tart shells weren’t greased properly so I couldn’t get the shell out of the pan. I plan to turn them into crumbly goodness atop some blueberry sorbet!! You could also opt to make the whole batch of filling, and use the remaining as a blueberry spread on scones or biscuits.. or toast.. or coconut ice cream.. or anything you can imagine to spread blueberries on!

Ingredients:

1 shell (quantity for 2 shells):
1.5 (2.5) C buckwheat (for gluten-free) or AP flour
2 (4) TBSP sugar
pinch (1/4 tsp) salt
1/2 (1) C cold butter, cut into pieces
3 (5) TBSP ice water

Blueberry Tart
Rich tart dough for 1 shell
3 pints fresh (or frozen if so inclined) blueberries, picked over
1/4 C cold water
2/3 C sugar, or less, depending on the berries’ sweetness
3 TBSP cornstarch
1/2 tsp ground cinnamon
1 lemon

Directions:

1. Make the dough: If making the dough by hand, sift together the flour, sugar and salt into a large bowl. Cut in the butter with 2 knives, pastry cutter, or fingertips, until the mixture is the texture of crumbly meal. *This can also be done in a food processor – pulsing briefly until crumbly. Add the liquid gradually and process just until the dough begins to clump together.

2. Sprinkle 3 TBSP of the liquid over the flour mixture and toss with a fork until the pastry just comes together. Add more liquid if necessary, but do not moisten the dough too much. Gather the pastry together in a ball and flatten into a disk. Wrap in plastic or wax paper and chill for at least 1 hour before rolling out.

3. Roll out the dough on a lightly floured surface into a large circle about 1/8-inch thick. Fit it, without stretching, into a lightly buttered 9-inch fluted tart pan with a removable bottom. Trim off the excess dough, leaving 3/4-inch overhang. Tuck in the overhang, pressing the edges of the dough against the sides of the tart pan to form a high, smooth border. Chill the tart shell while you preheat the oven to 400 F.


4. Line the pastry with a sheet of lightly buttered foil, buttered side down. Weigh down the foil with dried beans, rice or pie weights (with the mini tart I didn’t have to weigh them down or cover them); place the tart pan on a heavy baking sheet. Bake on a center rack until the sides are set, 8-10 minutes. Carefully remove the weights and foil. Continue to bake the shell, pricking any air bubbles with a fork, until the dough is golden and baked through, 10-13 minutes longer. Cool the tart shell on a wire rack. For minis: Just bake uncovered for 8-10 minutes, then remove to cool.
5. Make the filling: Combine about 2 C of the blueberries with the cold water in a heavy nonreactive sacuepan. Cover and bring to a boil. Meanwhile, in a small bowl, use a fork to stir together the sugar, cornstarch, and cinnamon. Use a zester or vegetable peeler to remove the zest from the lemon; reserve a few long, thin strands of zest for garnish. Finely chop the remaining zest and add it to the sugar mixture. Juice the lemon, and stir the juice into the sugar mixture; add this mixture to the berries. Boil gently, uncovered stirring constantly, until thickened, about 5 minutes. Remove from the heat and allow to cool for about 10-15 minutes. You want it to not come back together immediately when you scrape the pan with a spoon….


6. Set aside about 1 C of the nicest looking blueberries. Stir the remaining uncooked berries into the cooled berry mixture. Pour the blueberry mixture into the tart shell, mounding it carefully. Top with an even layer of the reserved uncooked berries and garnish with a few strands of the reserved lemon zest. Chill covered with plastic wrap, if not serving immediately.


7. If the tart was chilled longer than 30 minutes, remove it from the fridge a few minutes before serving. Gently remove the tart from the rim of the pan. Top each slice (or mini-tart) with a sprinkling of powdered sugar.

**Note: Just be aware that if you use the buckwheat flour for gluten-free goodness, it’ll have a ‘healthier’ taste to the crust, than it would if it was an all-purpose flour. So if you’re wanting something that has that bad-for-you appeal, use AP…but if you want to feel like you’re doing your body some good by eating dessert, use buckwheat or even a whole wheat if you can have gluten!

Happy Baking!

Read Full Post »

Here’s a sorbet recipe that will instantly take you to the islands, and perhaps make you want to tango… Where is a young island native when you need one to fan you with palm fronds? With the heat beginning to swelter, I needed more sorbet to keep cool! I did pretty much the same base recipe as the watermelon sorbet, but with pineapple!

Ingredients:

1 C sugar
3/4 C (6 oz) water
1 TBSP Malibu or other coconut rum (*optional)
fresh squeezed juice from 1 lime
3 C chopped fresh pineapple

Directions:

1. Place the sugar and water in a small saucepan. Cover, and bring to a boil over medium heat, stirring occasionally. When the sugar has dissolved, remove the pan from heat. Transfer the syrup to a bowl; set in the fridge to chill.
2. Place the rum, lime juice, and pineapple in the bowl of a food processor or blender; process until liquified, about 2 minutes. Add puree to the chilled syrup; stir to combine.
3. Strain into an ice cream maker. Freeze the sorbet according to manufacturers instructions (mine took about 15-20 minutes); store in a plastic container in the freezer for up to 1 week.

Variations: Some caramelized pineapple slices would be wonderful on top of a scoop of this sorbet. It may also be good as a flavor in a parfait-type dessert with other sorbet flavors (such as the upcoming Cherry sorbet) and some sweet (without the spicy) almonds or macadamias.

Happy Freezing!

Read Full Post »

It seems like in the summertime, I try to prepare food for the week on the weekends to avoid heating up the house by cooking during the week (poor college student = no gratuitous air-conditioner use). Thus, I usually eat leftovers during the week. Well, last night was no exception. I had leftover Red Beans and Rice Soup, but then the spicy left me warm – but not to the point of inducing sweating in order to cool myself off. It wasn’t that hot, only about 85 or so (I’m from Texas..and my response to all these people in the Midwest is “at least it’s not humid” – 85-90 degrees with only 60% humidity is actually pleasant after living in Houston for 6 years, I can forgo the AC unit). But I digress..since the spicy soup didn’t induce my sweat, I wanted something cool. I had a watermelon that I got at the Farmers Market and decided, instead of just eating it like I always do…turn it into sorbet! And that’s what I did..and upon first bite I exclaimed…”expletive..that’s amazing!” So I shall share the recipe that had me happily cursing at my ice cream maker..

Ingredients:

1 C turbinado sugar
3/4 C (6 oz) water
1 TBSP Amaretto or other liquor that would go with watermelon, perhaps a berry Schnapps (*totally optional)
3 C ripe watermelon flesh, seeds removed

Directions:

1. Place the sugar and water in a small saucepan. Cover, and bring to a boil over medium heat, stirring occasionally. When the sugar has dissolved, remove the pan from heat, and stir in the liquor. Transfer the syrup to a bowl; place in fridge (or ice bath) to chill.
2. Place the watermelon flesh in the bowl of a food processor or blender; process until liquified, about 2 minutes. Add puree to the chilled syrup; stir to combine.
3. Freeze the sorbet in an ice-cream maker according to manufacturers instructions, store in a plastic container in the freezer for up to 1 week.

Variations: Instead of berry-flavored liquors, you could go with a ‘rita style sorbet by using 2 tsp Tequila and 1 tsp fresh lime juice. You could even toss in other fruits like fresh pitted cherries or various berries, instead of all watermelon, for a total of 3 C fruit.

Happy Freezing!!

Read Full Post »

Here’s an alternate to Jo’s Cashew-Raspberry icing…Blueberry-Almond! I made the Basic Vanilla Cupcake with Lemony variation recipe from Vegan Cupcakes Take Over the World, but turned it into a mini-cake and slathered this luscious icing all over it. You know, a 12-cupcake recipe makes a perfect 3-layer mini-cake (and look how cute they are!). I also tend to like my icings a bit sweeter than Jo (of course it could’ve also been due to the almond meal addition that I needed more sweetness), so I increased the nectar to 1/2 C instead of 1/4 C. Adding the almond meal helped make the frosting a bit thicker than I imagine Jo’s was. Once it was chilled it was perfect – but I’m still gonna tinker to make it pipe-able.

Ingredients:

1 1/3 C raw slivered almonds
1/3 C almond meal
2 tsp almond extract
1 tsp vanilla extract
1/2 C raw agave
1 pint farmer’s market blueberries (about 1 2/3 C)

Directions:

1. Place almonds and almond meal in food processor. Blend until finely processed.

2. Add remaining ingredients. Blend until smooth and yummy.


3. Chill 20 minutes.
4. Ice cake with initial layer.


5. Chill cake and icing another 40 minutes before final frosting of cake. As you can see, in the pure sunlight, the frosting takes on a more blueish, less purple hue.


6. Refrigerate iced cake overnight – if you can make it that long.

*Of note: I don’t know why the cake came out so dense – it has never done that in cupcake form. Perhaps I should tinker with cooking temp and time (I of course cooked it longer, but still at 350), and when I poked it with a knife, it came out clean. But as you can see in the pic, the centers are pretty dense. Of course, it took on the consistency of a ‘half-baked’ variety. Perhaps there’s some future ice cream concoction brewing in my brain with this dense ‘half-baked’ appeal!

Happy Baking and Frosting!

Share

Read Full Post »

Hmm…chocolate cake. I use the recipe out of Vegan World Fusion Cuisine, which is simple and delicious. For the icing, I made up my own little concoction, with no sugar or “butter.” A food processor is a must for this icing, but it’s really easy, tasty and not over-the-top sweet. Of course, some people like their icing to be fluffy white clouds of sugar, so you could toss in a little powdered sugar if you want. I considered using almonds instead of cashews, and I bet hazelnuts would amazing. If anybody tries out other nuts or fruits, let me know how it turns out!

Ingredients:

1.5 C raw cashews

1 bag frozen raspberries (thawed)

0.25 C Agave nectar

1 tsp vanilla

Instructions:

Put nuts in food processor and blend for a couple of minutes, until pieces are very small. If raspberry seeds in your icing will bother you, press the berries through a fine mesh strainer to remove them. Add everything else to the nuts, and blend until smooth. Consistency is a crucial part of a good icing, so you may need a little more liquid (add a dash of hemp milk), or a little more firmness (add a pinch of corn starch or a spoonful of powdered sugar).

After your cake has cooled, spread this lovely icing over it and enjoy!

Share

Read Full Post »

Older Posts »